VW T4 Forum - VW T5 Forum banner

JonR6's build thread.

91K views 171 replies 36 participants last post by  JonR6  
#1 ·
Hi guys,

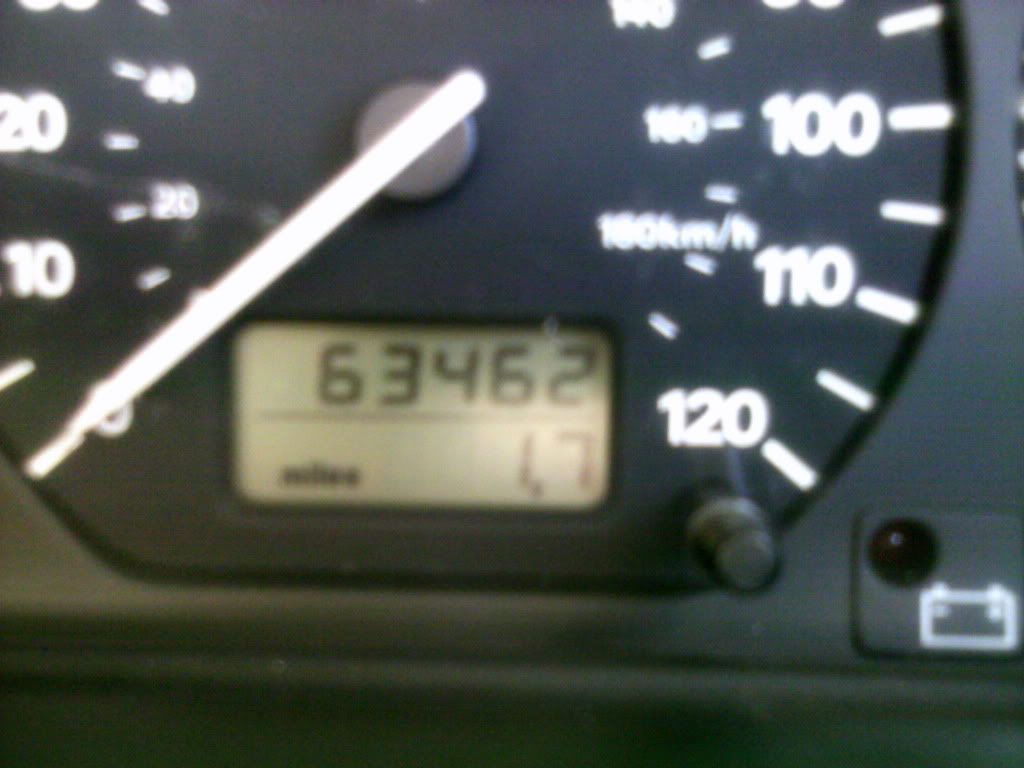
Having picked up my van from T4 Virgin last weekend, I thought it was finally time I signed up as an offical member (if you will accept me!) of Team White. So here is my shiney new (to me) S reg 1.9TD transporter, 63000 miles young and running sweet. I flew up on Sunday and after a quick look around the van it was as good as I had been hoping for, so after after parting with my hard earned money, I filled it up and headed for home.... after 15 minutes I realised I was going the wrong way, so turned around and headed south!!


Image
 
#2 ·
Woops... pressed submit instead of preview!! nevermind, as you can see from the photos, it is a fairly tidy van, and T4 Virgin helpfully sold me some captains seats to go with it. The eventual plan is to get a rock and roll bed put in the back and then reupholster all the seats to match.

Image


Running it home the van ran really well and so far have had 500 miles out of this tank with loads left still to go, the plan over the next few weeks is to start running it on 50/50 veggie oil to help save running costs.

Image


Having had the chance this week to get used to it and decide my plan of action, the first things on my to do list are to go around and sort out the rust. There really isnt much at all on the actual bodywork as its only a bit on the windscreen and one one wheel arch, but as you can see... there is a fair bit on the roof where I think some racking has scratched it. I have seen my bodyshop guy who has done loads of other bits for me in the past, and he is going to go around the van curing all the rust and respraying over it, including most of the roof, as well as fitting in some bonded tinted windows for me.

Image


In the mean time, I have stripped out the ply wood interior that was on the drivers side, although will be keeping the largest board to retrim and use when I get around to insulating and carpeting at a later stage.

Image


Image
 
#3 ·
Well, a quick update on the progress of the still to be named van... After posting up here on the site, I managed to persude Webbs out of a set of Audi A3 alloy wheels which I will be putting on at the begining of the summer. Mainly so that I can run whats left of the tread on my steels wheels out and keep the new wheels looking shiny for the shows etc. When I went to pick them up, not only did I find a true T4 fantatic who I could learn a lot from, but she also helped me out by giving me a cabinate that will fit in nicely with the look I am trying to achive with the day van style interior. When I start working on the insides which will hopefully be in a few weeks time, I will sand it down and do a bit of extra work to it.

Image


Also, the van went in this week to have the rust sorted out on the wheelarch/roof and also to have my limo tint windows in. However, I got a call today asking me to pop over and see it as the guy who runs the bodyshop (friend of mine) wasnt happy with the idea of just glueing the skins of the wall/door together so he is welding it to give it a really solid fixing point. Its worrying to see my van cut up but I know its in really good hands!

Image


Image


I will give you all a further update on it when I get it back and start working on the interior....
 
#8 ·
Well, a quick update on the progress of the still to be named van... After posting up here on the site, I managed to persude Webbs out of a set of Audi A3 alloy wheels which I will be putting on at the begining of the summer. Mainly so that I can run whats left of the tread on my steels wheels out and keep the new wheels looking shiny for the shows etc. When I went to pick them up, not only did I find a true T4 fantatic who I could learn a lot from, but she also helped me out by giving me a cabinate that will fit in nicely with the look I am trying to achive with the day van style interior. When I start working on the insides which will hopefully be in a few weeks time, I will sand it down and do a bit of extra work to it.

Image


Hi there fella T: thanks for the kind words. Your doing a great job, keep up the good work. She will be looking sweet by the summer. Sure we will catch up at a show or two A:
 
#6 ·
Well, my van was away for two weeks having the rust sorted and the windows put in, its gone from being a very good condition to immaculate!! I'm really pleased with it and have a good base for the rest of the build....

Image


Image


After I got the van back I gave it a bit of a wash and realised that at some point I want to attack it with a decent quality wax... I also went down to B&Q and picked up most of what I need for the insulation. I just need to find some Celotex and will get to work on the interior....
 
#7 ·
Ok, so a bit of an update... Over the last week or so, I have waxoyled and insulated the doors...

Image


Image


and spent the last couple of days doing the same to the drivers side of the van...

Image


Image


I thought everything was going really well, as you can see from the last photo it was starting to look warm and snug in there! - The only problem was that when I went to refit my ply panels... they wouldn't fit :( in my enthusiasm I have used too much and need to spend some time carefully taking the foil back down and taking a bit out so I can make them fit.

Nevermind, its all a good learning curve!! T:
 
#9 ·
Well, because of Christmas and suffering from the bad combination of lack of time and money things slowed down to a bit of a snails pace, but since my last post, I have put on a new power steering belt and set of glow plugs so she now starts and turns eagerly. In the rare moments I have had time, I have finished insulating it and can honestly say its much quieter to drive!

Image


Image


Image


Image


The good news is that as I didnt have much time off work last year, I have a few weeks off coming up where I have nothing planned... which means extra time to spend on the van! So soon I am hoping you will see the ply lining go in as well as the van being carpeted throughout both the load area and cab. Its 16 weeks until I have a charity drive down to italy using the van, so I think im going to be going as fast as my budget can go! - If you would like to read any more about my charity trip, or to enter the raffle where you could win ÂŁ100 worth of car cleaning products, feel free to visit www.roguerun.co.uk or read the entertaining blog created by all the people taking part at http://roguerun.blogspot.com
 
#10 ·
Well, so far so bad.... im off work this week and done a couple of bits, I have managed to get the ply line floor up from the van. This was meant to be a quick job, but as the bolts and stuck and were hidden on one side under the exhast, it turned into a fairly long job!!

This is how it looked once I got it up, and since this photo was taken I brushed it all out and washed it down.
Image

I am just waiting for my new ply lining kit t arrive but unfortunatly its been held up by inept couriers, so already lost just over a days worth of time waiting for it to arrive. :*

The order has also gone in to megavan mats for some mega stretchy carpet.... my aim is to (hopefully!) get this at least partially installed by the end of the week. T:
 
#11 ·
Hi Jon

Keep up the good work T: Ply lining kit got picked up today so should be with you tomorrow, i shall call you tomorrow just to make sure that it has arrived.

Regards

Steven
Westcountry Campervans
Redruth
Cornwall
www.westcountrycampervans.co.uk
07883450444

Insulation, soundproofing, ply lining, vinyl floors, carpeting, windows, Cannon's Forge rock n roll beds, campervan conversions and much more!!
 
#12 ·
Well, the ply lining kit arrived today as promised, it looks like a good kit and so far has gone in with few problems (the only one being that the ply on the slide door seems to be rubbing the exterior of the van when opening). Im looking forward to getting it all carpeted and then attempting a final fit.

Steven from Westcountry Campervans has been really helpful during this and I would be happy to recommend him!
 
#14 ·
Got a little bit more work done to the van today, got most of the ply lining in for its test fit while I waited for the carpet to arrive, most of it seems fine except for a couple of kinks that I clearly need to iron out.

The photos are a little dark as were taken just as the sun was going down...
Image


The ply on the side door seems to be rubbing the exterior paintwork slightly, and considering the carpet still has yet to go on, im thinking this could get worse...
Image


This panel doesnt even seem to want to go on... the metal seems to be breaking all my drill bits! ;)
Image
 
#15 ·
T: hi Jon great job your doing there. It might not be the plys thickness rubbing the body work when opening the door , maybe too much insulation. Always good to put extra screws in to the centre of the panels to hold them flat to the vans metal work. Just be carefully not to go through the body work like I did :eek: I found self drilling screws the best. They have a drill bit attached before the screw thread. Saves drilling then losing the holes :D
 
#17 ·
Well, the snow would have beaten most people... but being a bit pig headed I carried on as if its a normal day, so I went outside to find the van looking like this...

Image


So with my other half Kelly, I devised a (hopefully) cunning plan to sort out that panel under the window thats giving me problems by securing it at the bottom with industrial velcro. Thus bypassing the problem of screwing it into the wall and breaking all my drill bits! but we decided that this would be best done after the vans been carpeted. So I took of the barn door panels and one of my side walls to set aboout carpeting. After a few hours work we got it to look like this...

Image


and finally I got it fitted in, so far im pleased with the results....

Image
 
#18 ·
Well thats the panels all ply lined now, with the panel under my window fitted in... my only problem is that on that side I cant get the rear panel to fit totally flush (or at least, as flush as I would like it!) so my need to find a way of redrilling it to get a tight fit.

Image


Image


Next up... Carpet the metalwork, fit my CB, get some new springs and lower it on to my shiney alloys!!T:T:
 
#20 ·
Hi Jon

With regards to the side door panel rubbing against the side of the van when opening, to sort this out all you need to do is put a couple of screws in it about a 3rd of the way down/about 18cms from the top of the panel, so basically the screws should go into the beam on the side door. Just give me a call if you need anymore help T:

Regards

Steven
Westcountry Campervans
Redruth
Cornwall
www.westcountrycampervans.co.uk
07883450444

Insulation, soundproofing, ply lining, vinyl floors, carpeting, windows, Cannon's Forge rock n roll beds, campervan conversions and much more!!
 
#23 ·
Just a minor update as things here have been so hectic recently... Since my last update, I have tinted the rear windows, tidied up some of the carpet in the back and generally smartened up the inside of the van and fitted a CB in time for my charity event next month, and the whip ariel on the roof looks awesome!!:ILU:

We took the van away on our first trip as well.... we had a four day weekend in Scotland covering 1400 miles in four days:cool: you could say long distance doesnt phase us.....

Image


The views were stunning!

Image


T4 Ted took in the scenary....

Image


And even made a new friend!

Image
 
#24 ·
Seems to have been a while since my last update on what I have been getting up to with the van... Again, no work has taken place for a while because the van has been too busy touring about to be tinkered with! Mid May we went away on the charity event called RogueRun that covered 2000 miles around europe which we had spent many months organising, we ended up raising well over ÂŁ1000 and plan on doing it again next year! Below are just some of the photos from the trip, if you would like to see more or read about what we did feel free to visit our shiney new website www.roguerun.co.uk

Image


Image


Image


We did a big part of the trip on veggie oil, I filled the tank before we left and made it most of the way around just topping up!
Image


Image


Some of the cars that took part...
Image


Image


Image


This week I spoke to Jonathan at Air-liftUK and sorted me out with a fantatic deal on some Eibach springs to drop it a little lower to ground zero, im not looking to slam it to the floor... just not have such a harsh monster truck ride!!T:
 
#26 ·
Well, the new springs are on and now that I have lived with them for a few weeks I have to confess, although im slightly disappointed at how little the van has dropped... I am amazed at the improvement in handling, my local motorway junction has a bend in it which normally makes me leave pinch marks in the drivers seat, but now I can take it an easy 20mph faster with no troubles! :cool:

I know shocks are going to be on the list of mods to come, but next in my list of priorities is to sort the cab... the plan for that is soundproofing, painting dash and doorcards black and carpeting the floor.
 
#28 ·
In the last few weeks, I have been a busy boy... both in the good way as well as the bad. The good news is that I spent ÂŁ180 with NoiseKilla on a full soundproofing kit for under the bonnet, inside the doors and under the cab carpet, So im currently waiting for that to arrive and when it does I will let you all know what its like and if its worth the money.

Two days ago, thanks to the roadworks outside my house I have had a problem backing the van onto my drive, so managed to scrape the side down a wall, causing ÂŁ180 worth of damage. This REALLY annoyed me as I have the annual Beaulieu meet next week and then a trip to Amsterdam the week after, so this money is going to have a bit of an impact on what I can afford to do with the cab (bye bye Audiosport door pockets :( )... but for now I'm still going to get on with spraying my dash and doorcards from grey to black.

Image