

Didn't really show my van from the beginning of her life with me, so heres a trip back from 3 years ago when I was still a van virgin..
![Image]()
My van a few weeks after buying her - a shadow blue metallic komb T32. High mileage (90k) and had had a hard life with a satellite tv company. By this time I'd already added a few bits of bling in the form of alloys, lots of chrome bits and a set of 40mm lowering springs. I'd removed the awful wooden bulkhead the previous owners had fitted behind the second set of seats, and started to discover lots of other unpleasant things that the the previous owners had left behind..
![Image]()
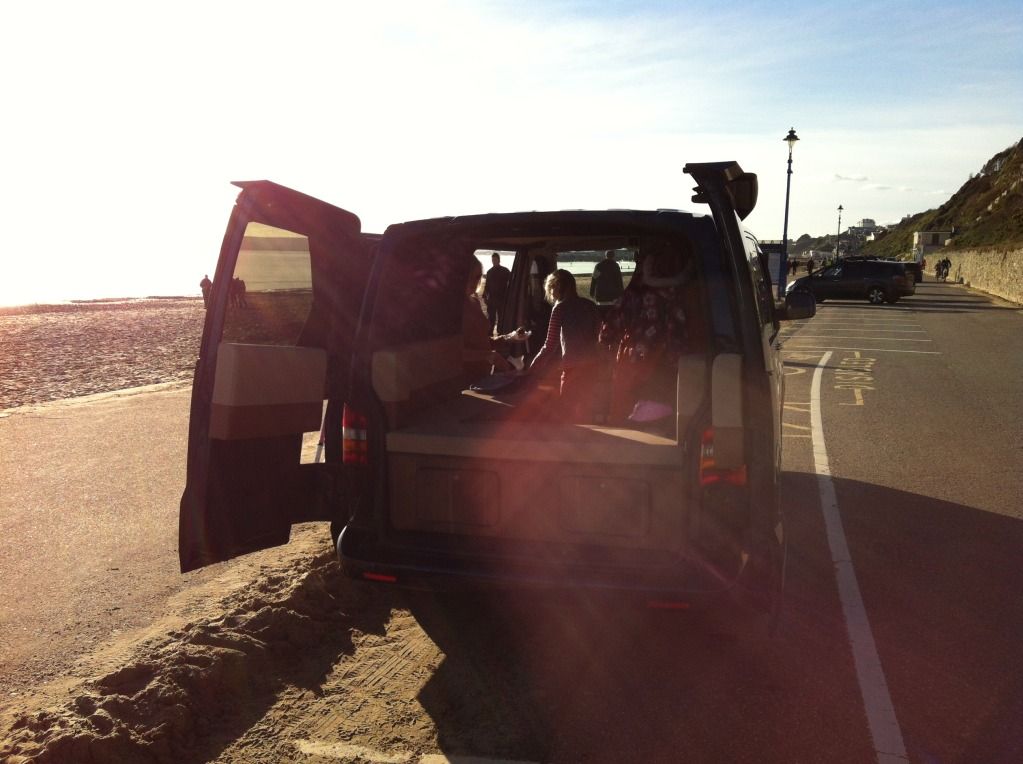
First camping trip in the van. Had already found out that the factory sliding windows leaked (hence duct tape over them) and on this trip discovered that the roof leaked as well (screw plugs missing from roof). Got all these problems sorted soon after (new window seal kits and screw plugs). Still had a good time though, and loads better than a cramped two man tent..
![Image]()
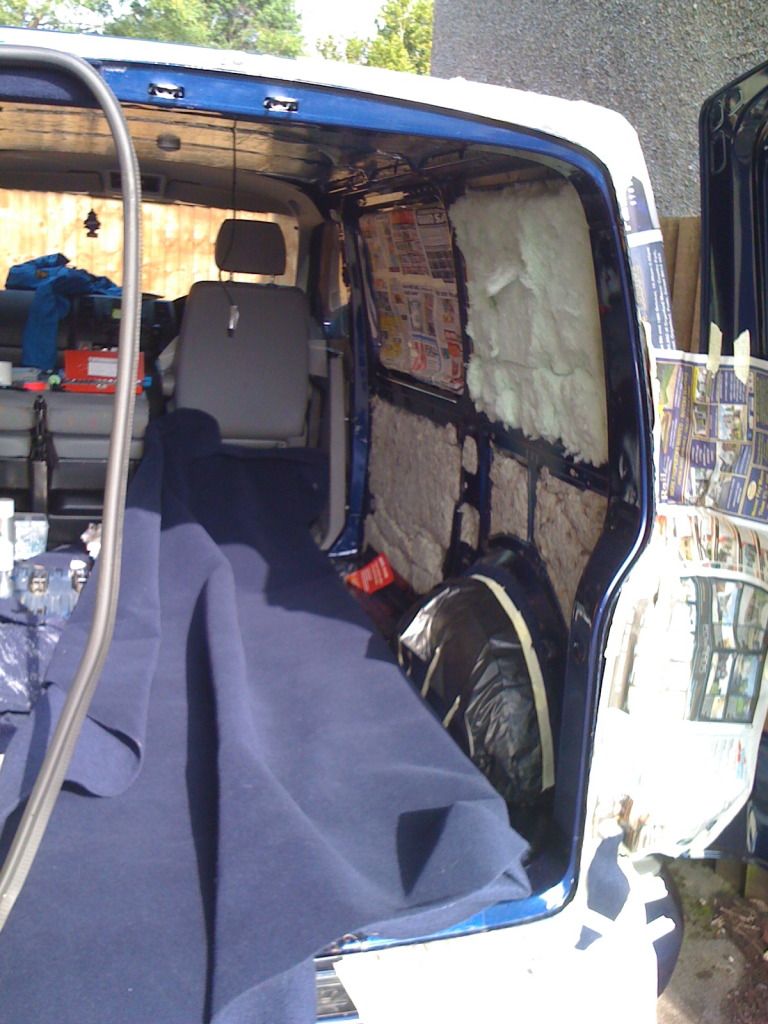
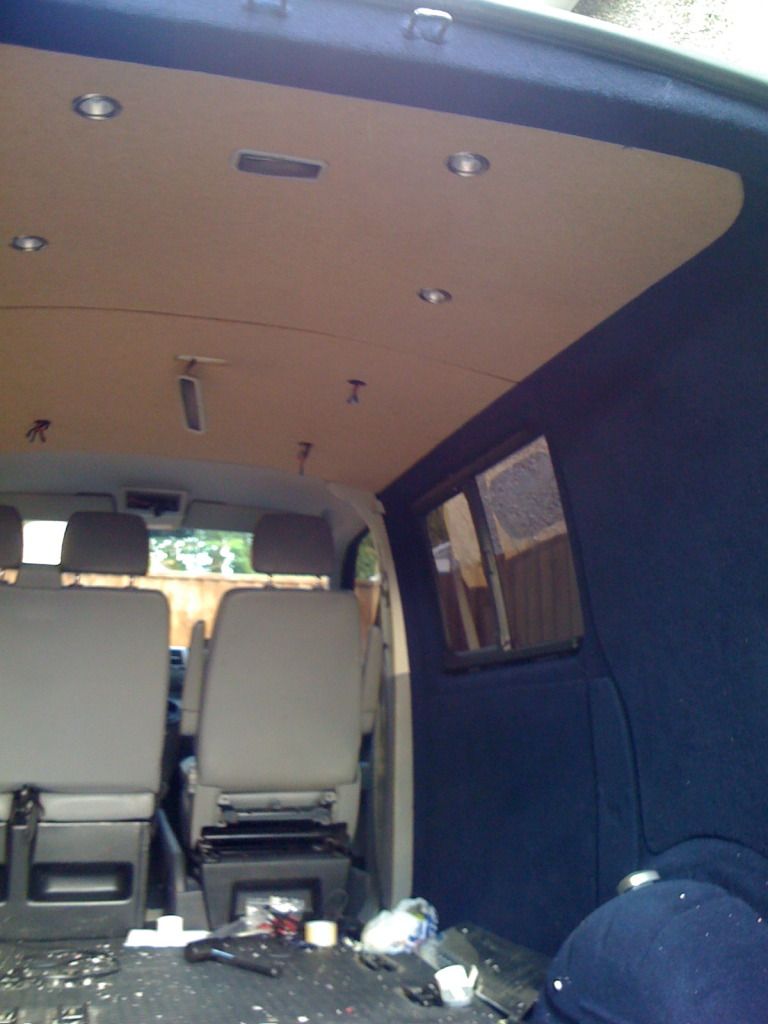
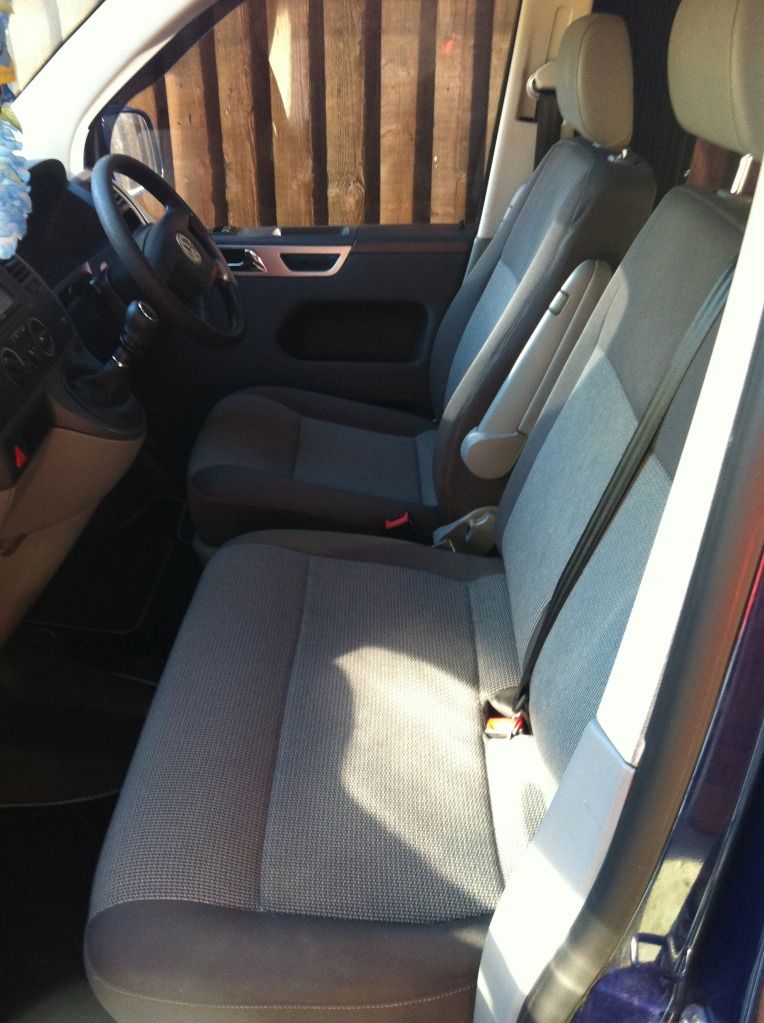
Finally started on the inside, got to work removing the original panels that had been covered by plywood. Got twenty quid for them ebay T: after using them as templates for new ones. I couldn't believe how much rubbish, bits of tv aerial and spare change I found when I started stripping the van out..
![Image]()
Vansport in Penzance were doing a new year offer on window fitting, and it was cheaper for me to travel down to Cornwall than have them done locally - gave me a courtesy car and got a good surf in at Porthleven whilst they were fitting them.. T:
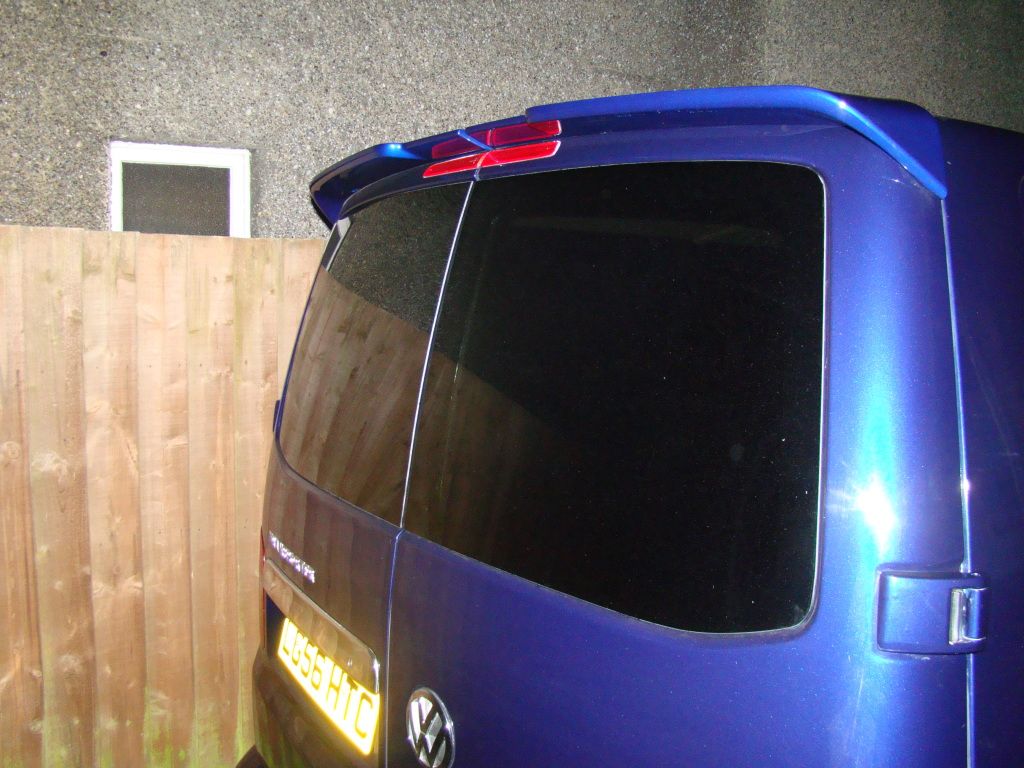
Also Colin at Kustom Kolors colour coded and fitted my roof spoiler after the windows were fitted..
![Image]()
Colin also sprayed and fitted this little baby after I picked it up in a scrappy for £90..I:
![Image]()
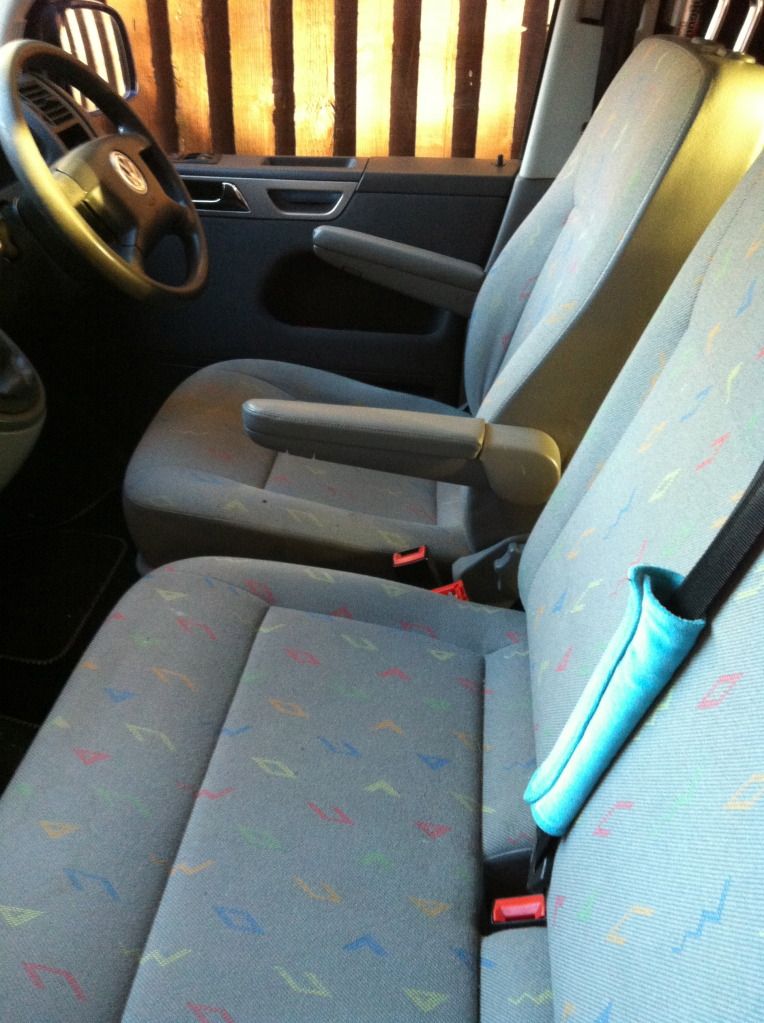
Got a set of Caravelle footwell trims from Colin (Oxford T5) and spent a fun weekend wiring them in
![Image]()
![Image]()
![Image]()
Then onto insulation and carpeting - sheepswool and recycled bottle stuff from B&Q for the sides, and 25mm Kingspan for the roof. Made sure that the Kingspan edges were sealed with aluminium tape to stop them from squeaking. Then carpeting for a few days, with the help a few tinnies..
![Image]()
My buddy Pete, who designed and handbuilt all the units and carried out my conversion, helping me with the wiring for the lights.
![Image]()
Got the ceiling carpeted and fitted, then fitted the lights. Went for G4 halogen spots from the cheapie bin at B&Q. Give off a nice warm light, and chuck out a bit of heat as well..
![Image]()
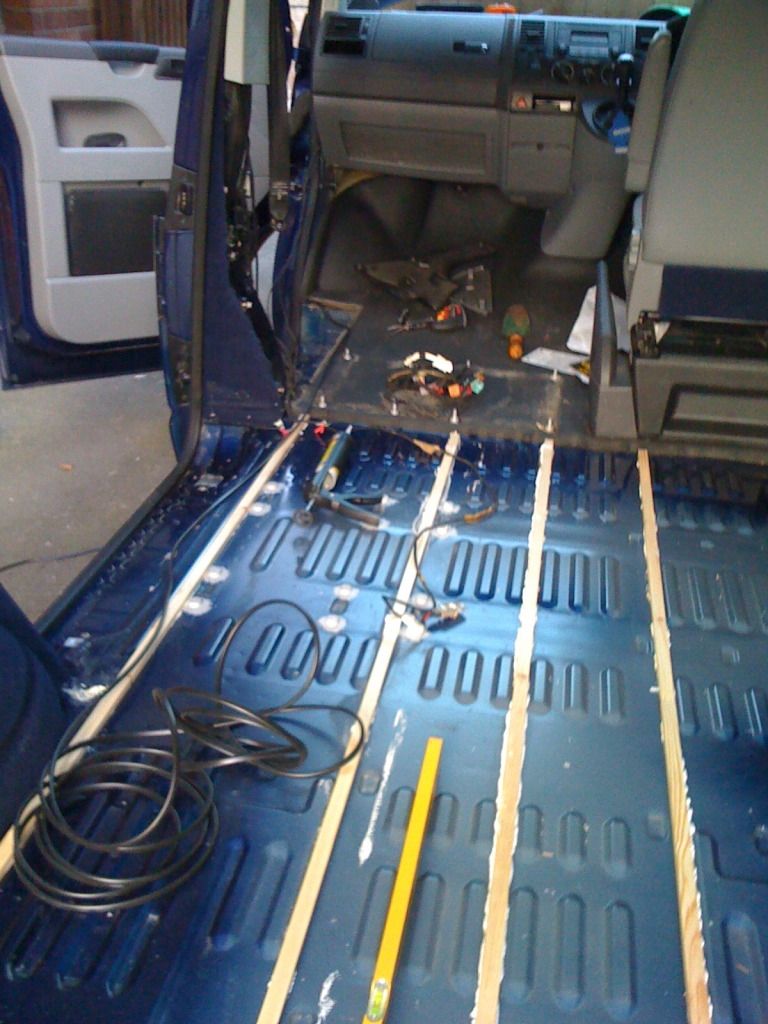
Kombi seats and brackets gone, holes filled and sealed, and floor washed, dried and cleaned with solvent cleaner. Roughed up the paint on the floor and fitted my floor batons. Started getting all the wiring in place as well for the conversion
![Image]()
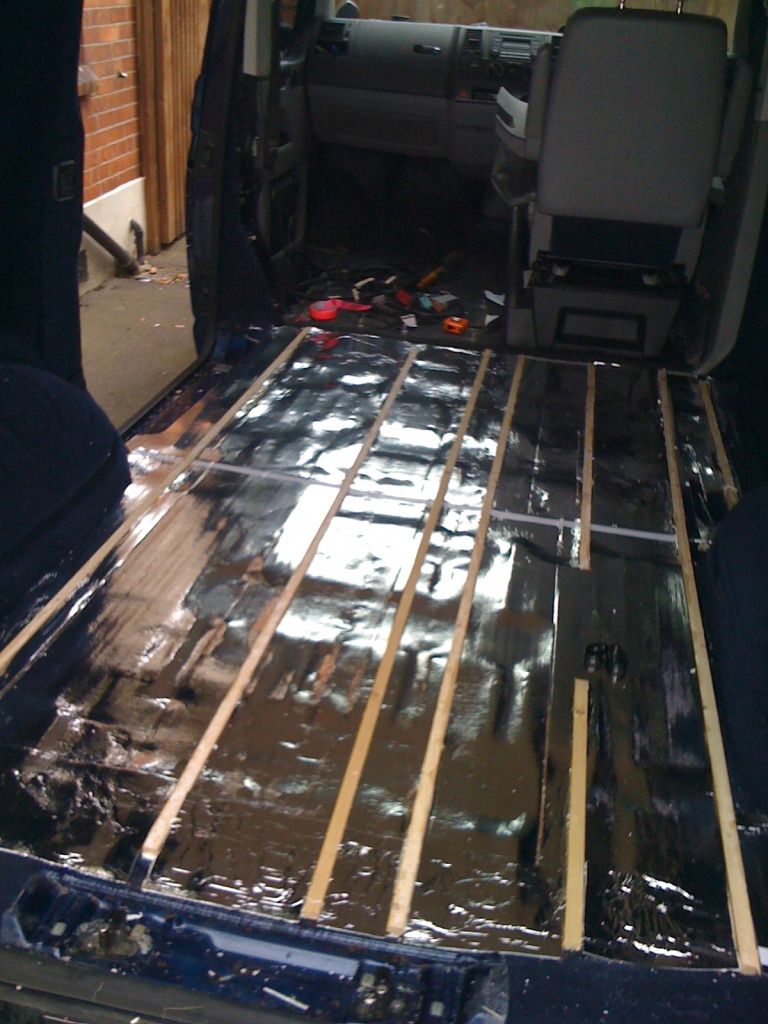
Got the floor insulation down, 2 layers of the underfloor stuff from Homebase. Wiring for fridge, plugs and power system all tidied into one strip with cable ties
![Image]()
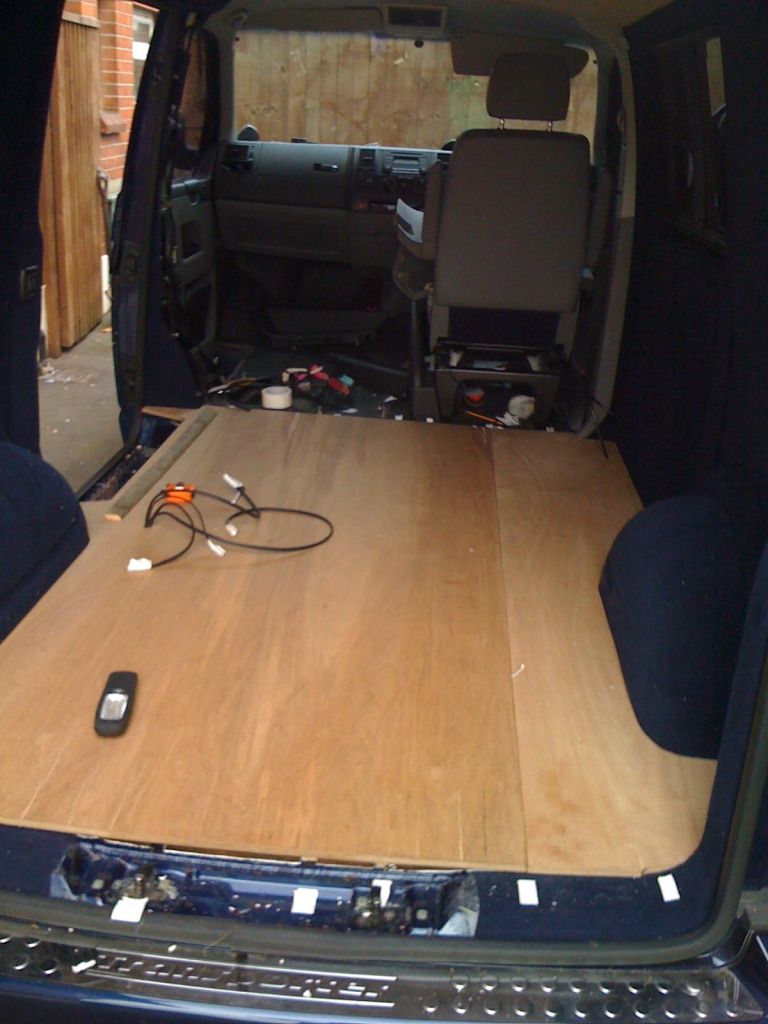
12mm ply floor down, wanted something strong to bang the units into, plus 12mm ply is a very good insulator.. electrical wire location marked onto the ply so I didn't stick a drill bit through it at a later date..I:
![Image]()
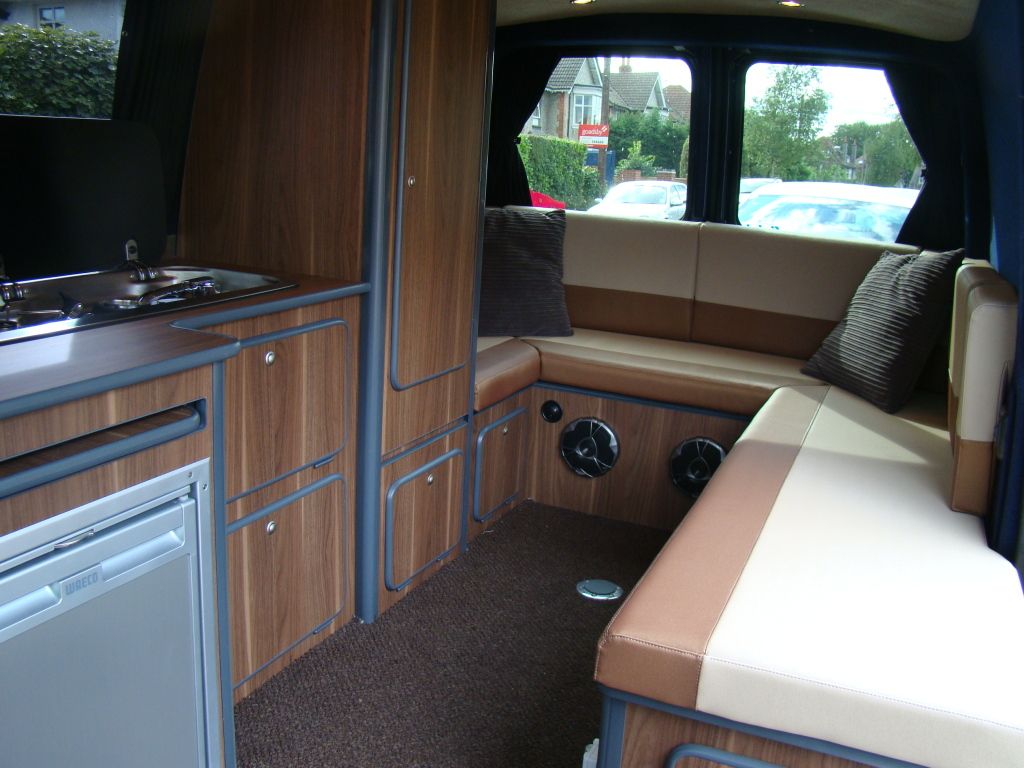
3 months down the line and Pete had worked his magic on the the interior - went for his design as I wanted somewhere where my wife, daughter and I could have a bit of comfort and stretch out if the weathers rough outside. I trimmed the seat covers in cheap throws until I could afford to have them trimmed professionally.
![Image]()
Treated the van to some new multivan door cards from Poland, thanks to Mark and Glitch for advise with these T:
![Image]()
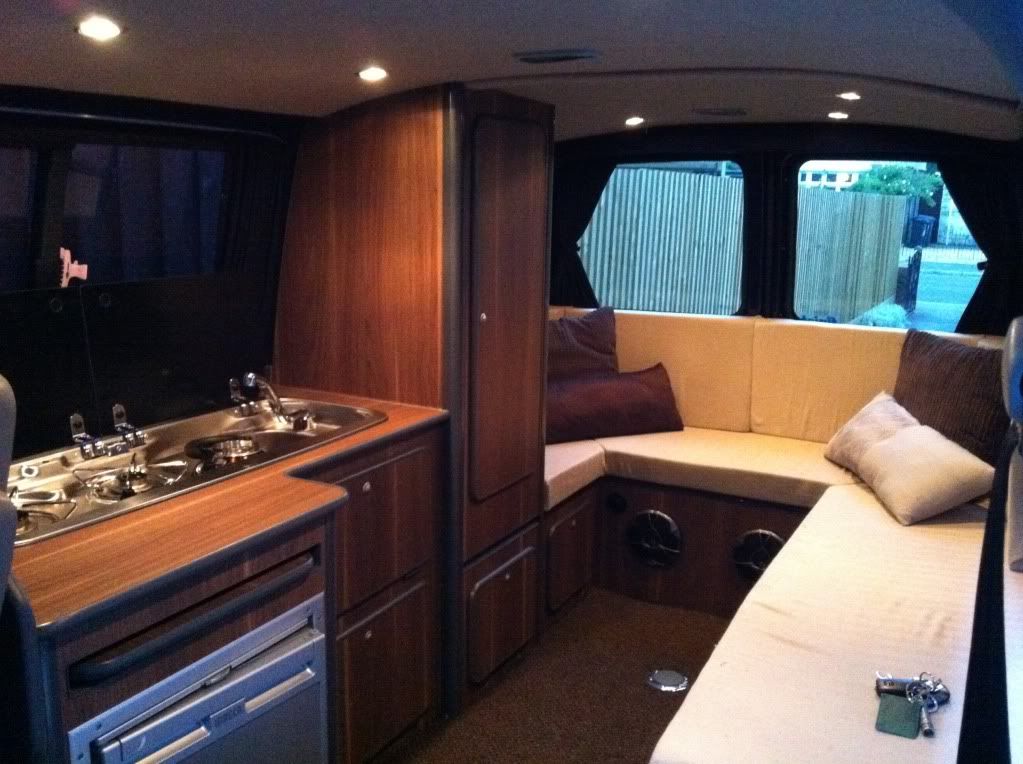
Finally had enough money to get the rear cushions trimmed, carried out by Toomer and Hayter in Bournemouth. Breathable italian marine vinyl, very happy with the result.
![Image]()
![Image]()
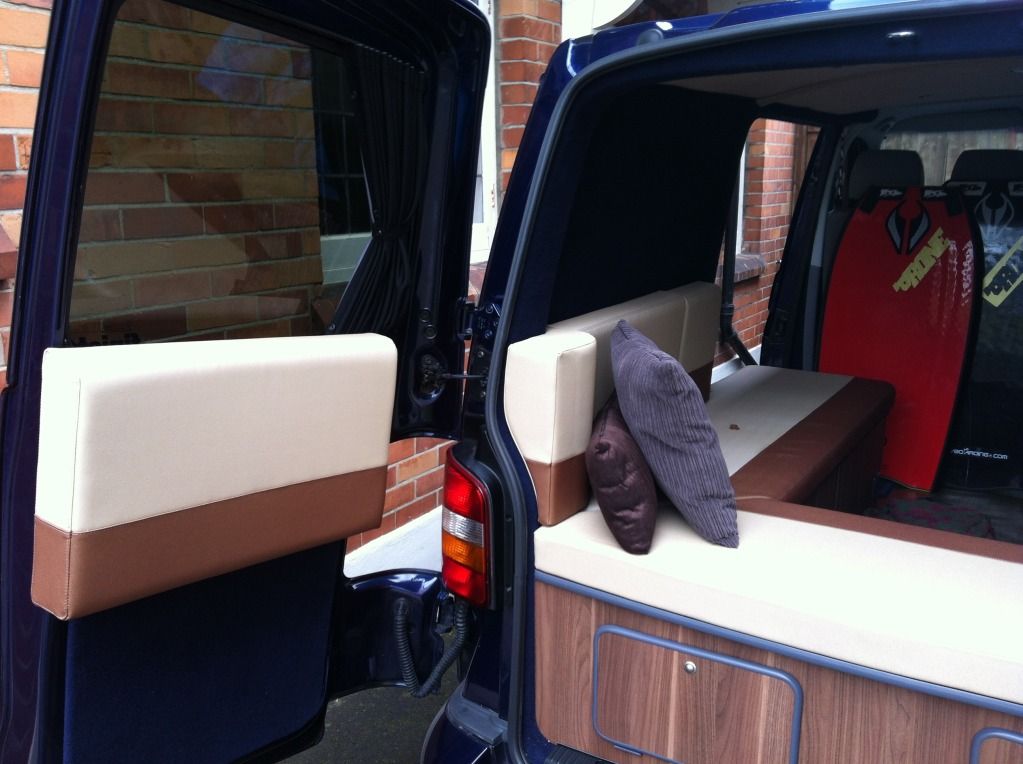
Fitted the rear cushions to the barn doors, opens the inside of the van more when its sunny and gets the cushions out of the way..
![Image]()
Out with the old..
![Image]()
And in with these I picked up in Braunton in Devon..
![Image]()
![Image]()
Very happy with them, plus they match the doorcards perfectly..
So, thats it, its been a fun three years, and I 've now got a cracking camper that has given us many happy times away. Big thanks to all on the forum who've helped me out in this time.. :ILU:

My van a few weeks after buying her - a shadow blue metallic komb T32. High mileage (90k) and had had a hard life with a satellite tv company. By this time I'd already added a few bits of bling in the form of alloys, lots of chrome bits and a set of 40mm lowering springs. I'd removed the awful wooden bulkhead the previous owners had fitted behind the second set of seats, and started to discover lots of other unpleasant things that the the previous owners had left behind..
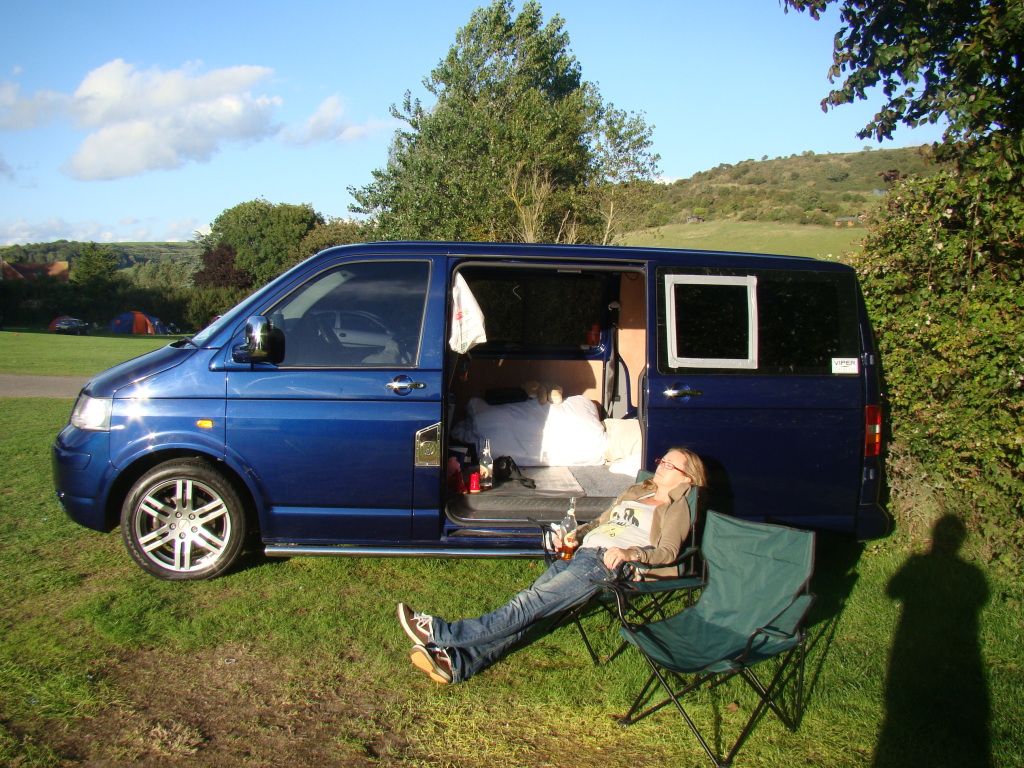
First camping trip in the van. Had already found out that the factory sliding windows leaked (hence duct tape over them) and on this trip discovered that the roof leaked as well (screw plugs missing from roof). Got all these problems sorted soon after (new window seal kits and screw plugs). Still had a good time though, and loads better than a cramped two man tent..
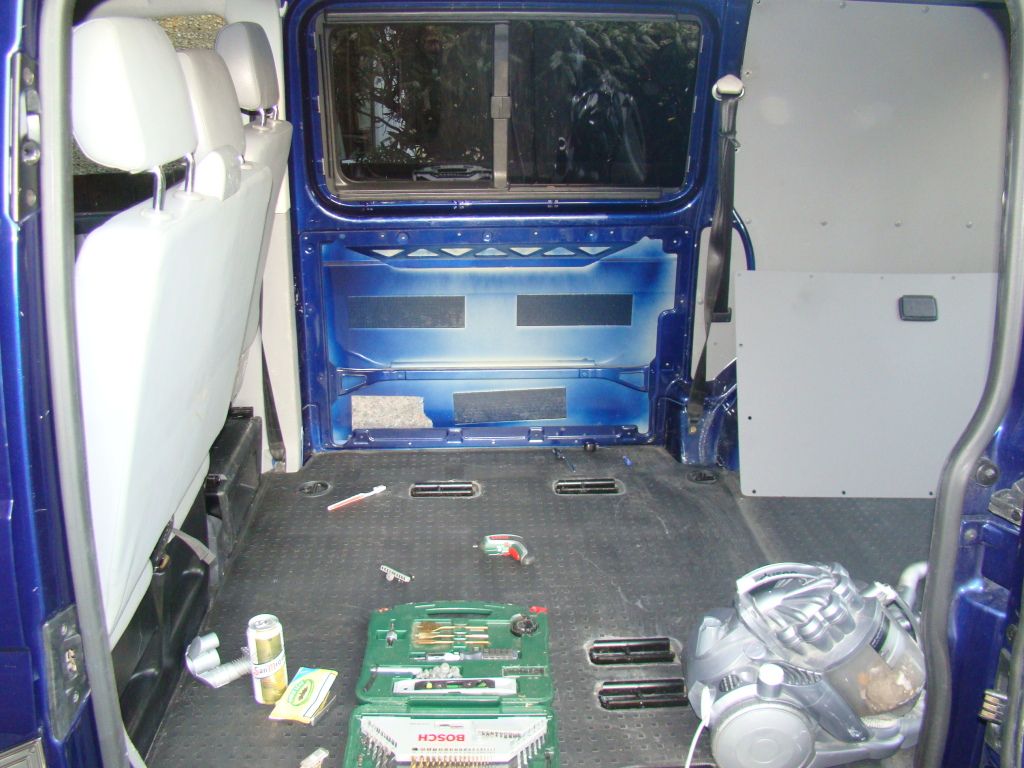
Finally started on the inside, got to work removing the original panels that had been covered by plywood. Got twenty quid for them ebay T: after using them as templates for new ones. I couldn't believe how much rubbish, bits of tv aerial and spare change I found when I started stripping the van out..
Vansport in Penzance were doing a new year offer on window fitting, and it was cheaper for me to travel down to Cornwall than have them done locally - gave me a courtesy car and got a good surf in at Porthleven whilst they were fitting them.. T:
Also Colin at Kustom Kolors colour coded and fitted my roof spoiler after the windows were fitted..
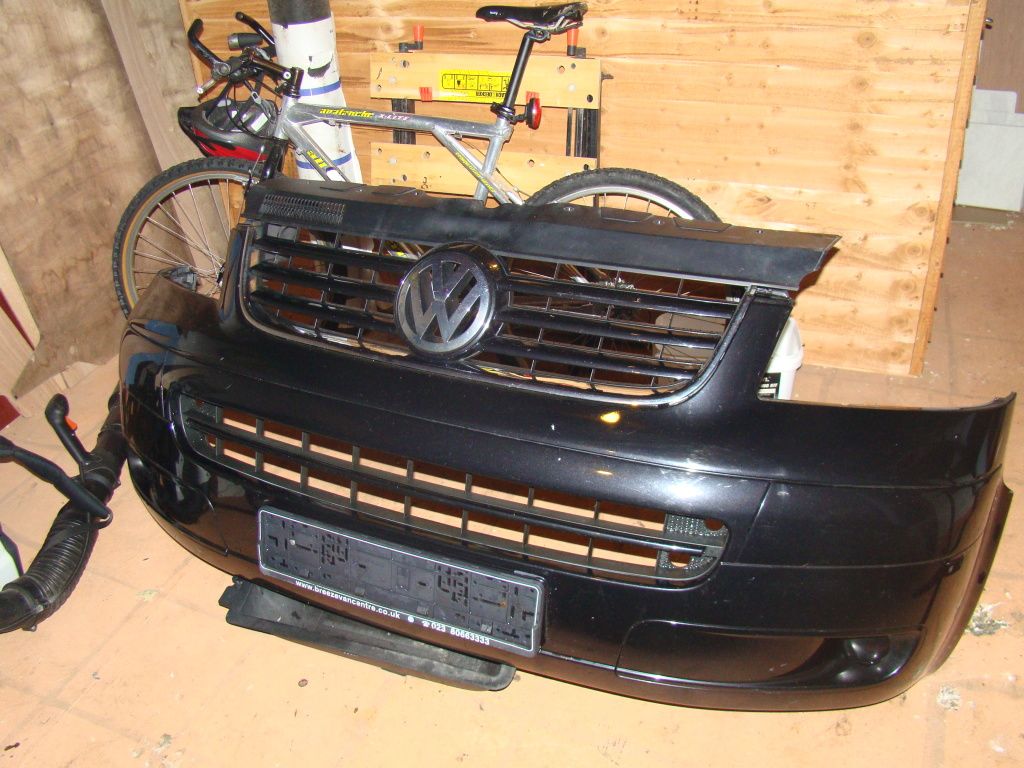
Colin also sprayed and fitted this little baby after I picked it up in a scrappy for £90..I:
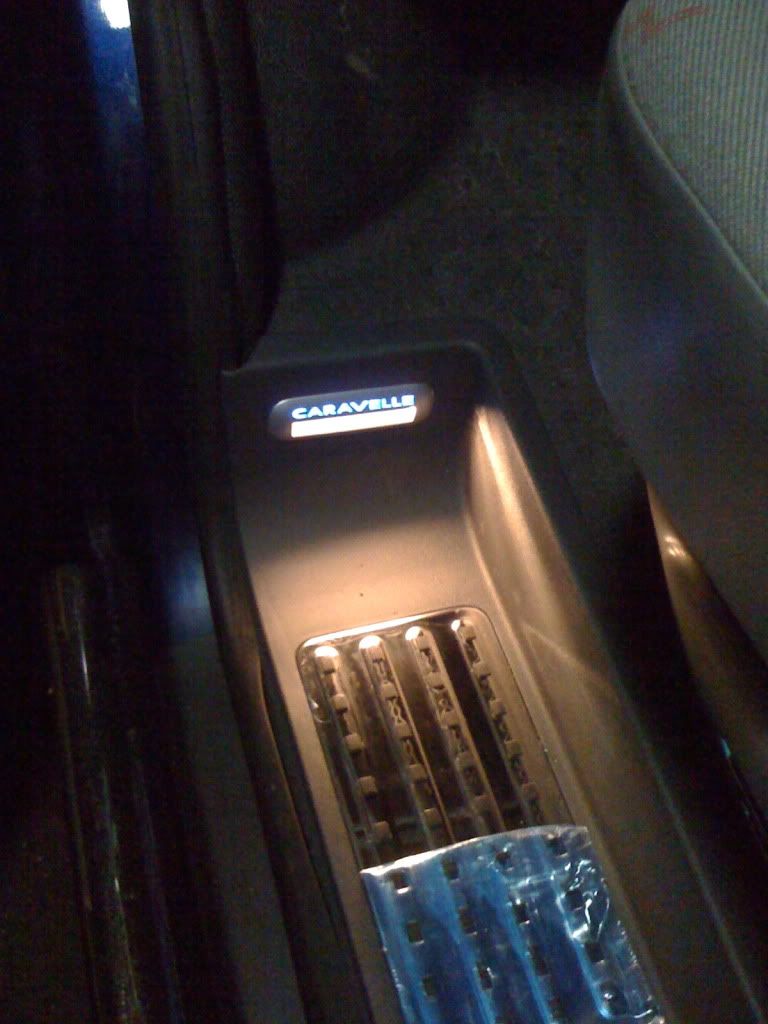
Got a set of Caravelle footwell trims from Colin (Oxford T5) and spent a fun weekend wiring them in
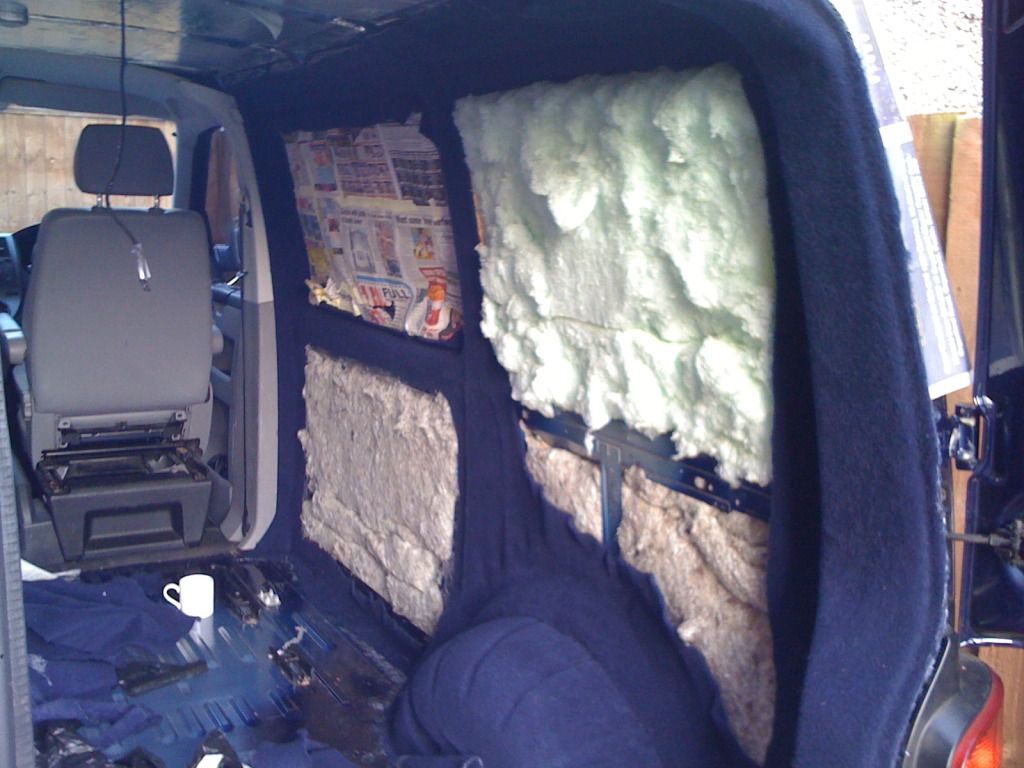

Then onto insulation and carpeting - sheepswool and recycled bottle stuff from B&Q for the sides, and 25mm Kingspan for the roof. Made sure that the Kingspan edges were sealed with aluminium tape to stop them from squeaking. Then carpeting for a few days, with the help a few tinnies..
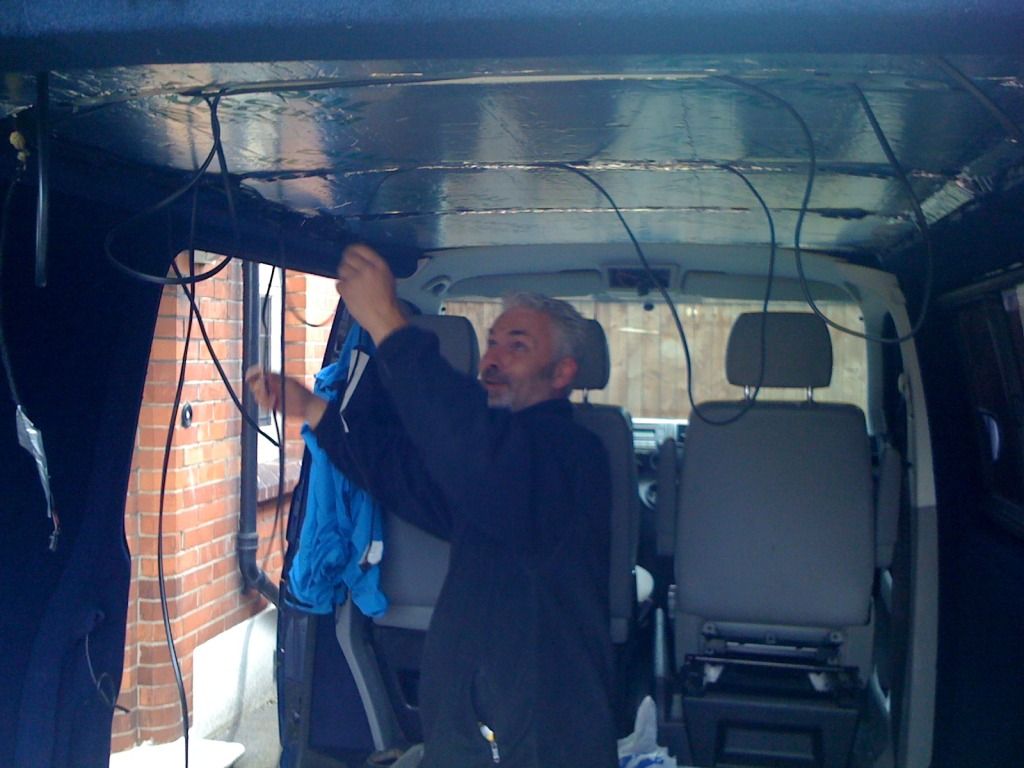
My buddy Pete, who designed and handbuilt all the units and carried out my conversion, helping me with the wiring for the lights.
Got the ceiling carpeted and fitted, then fitted the lights. Went for G4 halogen spots from the cheapie bin at B&Q. Give off a nice warm light, and chuck out a bit of heat as well..
Kombi seats and brackets gone, holes filled and sealed, and floor washed, dried and cleaned with solvent cleaner. Roughed up the paint on the floor and fitted my floor batons. Started getting all the wiring in place as well for the conversion
Got the floor insulation down, 2 layers of the underfloor stuff from Homebase. Wiring for fridge, plugs and power system all tidied into one strip with cable ties
12mm ply floor down, wanted something strong to bang the units into, plus 12mm ply is a very good insulator.. electrical wire location marked onto the ply so I didn't stick a drill bit through it at a later date..I:
3 months down the line and Pete had worked his magic on the the interior - went for his design as I wanted somewhere where my wife, daughter and I could have a bit of comfort and stretch out if the weathers rough outside. I trimmed the seat covers in cheap throws until I could afford to have them trimmed professionally.
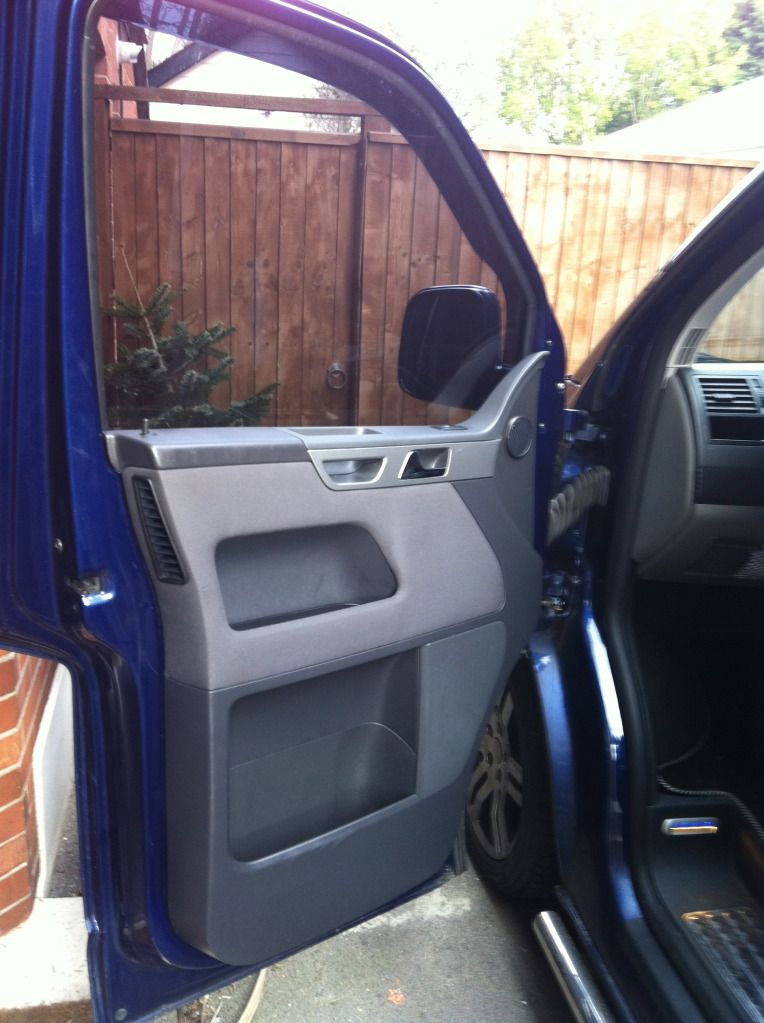
Treated the van to some new multivan door cards from Poland, thanks to Mark and Glitch for advise with these T:
Finally had enough money to get the rear cushions trimmed, carried out by Toomer and Hayter in Bournemouth. Breathable italian marine vinyl, very happy with the result.
Fitted the rear cushions to the barn doors, opens the inside of the van more when its sunny and gets the cushions out of the way..
Out with the old..
And in with these I picked up in Braunton in Devon..
Very happy with them, plus they match the doorcards perfectly..
So, thats it, its been a fun three years, and I 've now got a cracking camper that has given us many happy times away. Big thanks to all on the forum who've helped me out in this time.. :ILU:


